
2. Setting Up Unity XR
- Download Unity Hub here and install it.
- Open Unity Hub. Select the Installs tab and click on the
Install Editorbutton. - Select a version of Unity (the latest Zoe release was tested with Unity 2019.4.0f1). Click
NEXT. - If you plan on using an Oculus Quest, check Android Build Support; otherwise click
DONE. The version of Unity you selected is now installing. Wait until that process is done.
Create a new Unity Project with Template: 3D (make sure you are using the version recommended for Zoe) with the name you want:

Then let’s add the necessary packages to your project which allow Unity to work with Virtual Reality headsets.
Go to Edit > Project Settings.
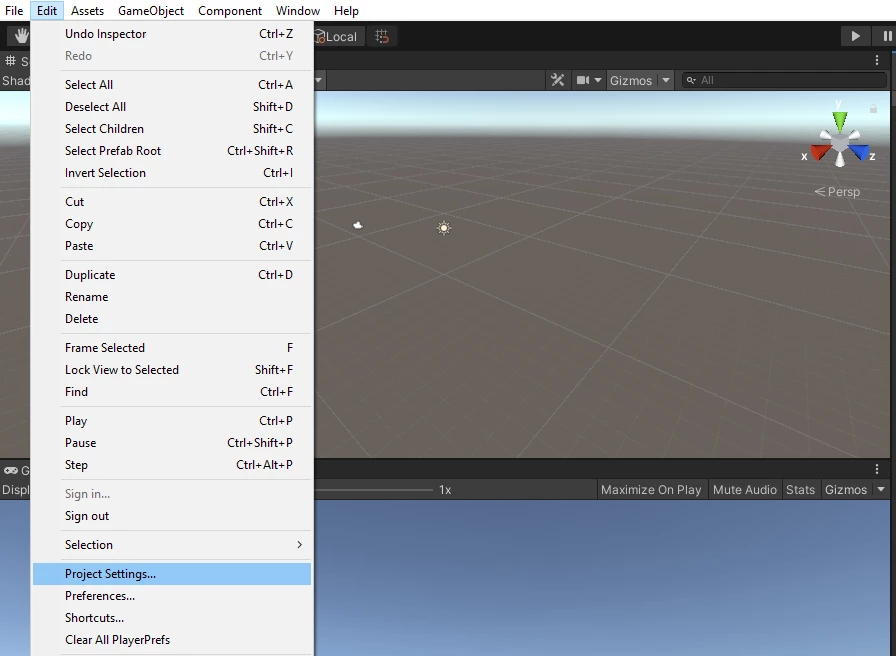
A new window will pop up. Go to ‘XR Plugin Management’, at the bottom.

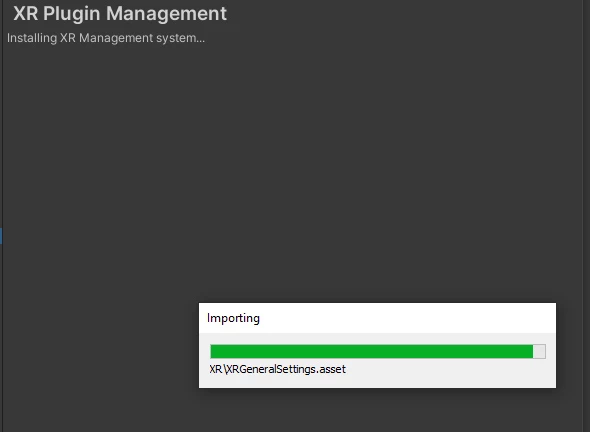
Click on the button to install the XR Plugin. Wait until Unity imports the package:
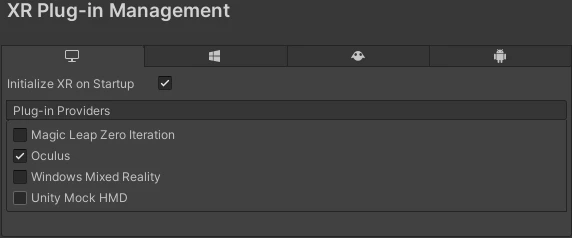
After importing, in the new interface select the hardware you are using for Unity to install also the necessary packages (make sure you wait until a process bar appears and everything has been imported). Here is the setting for using an Oculus Rift / Rift S:
Note: to use SteamVR (for HTC Vive headsets foe example) a separate plug-in needs to be installed. Check SteamVR support for more information.
Close the Project Settings window.